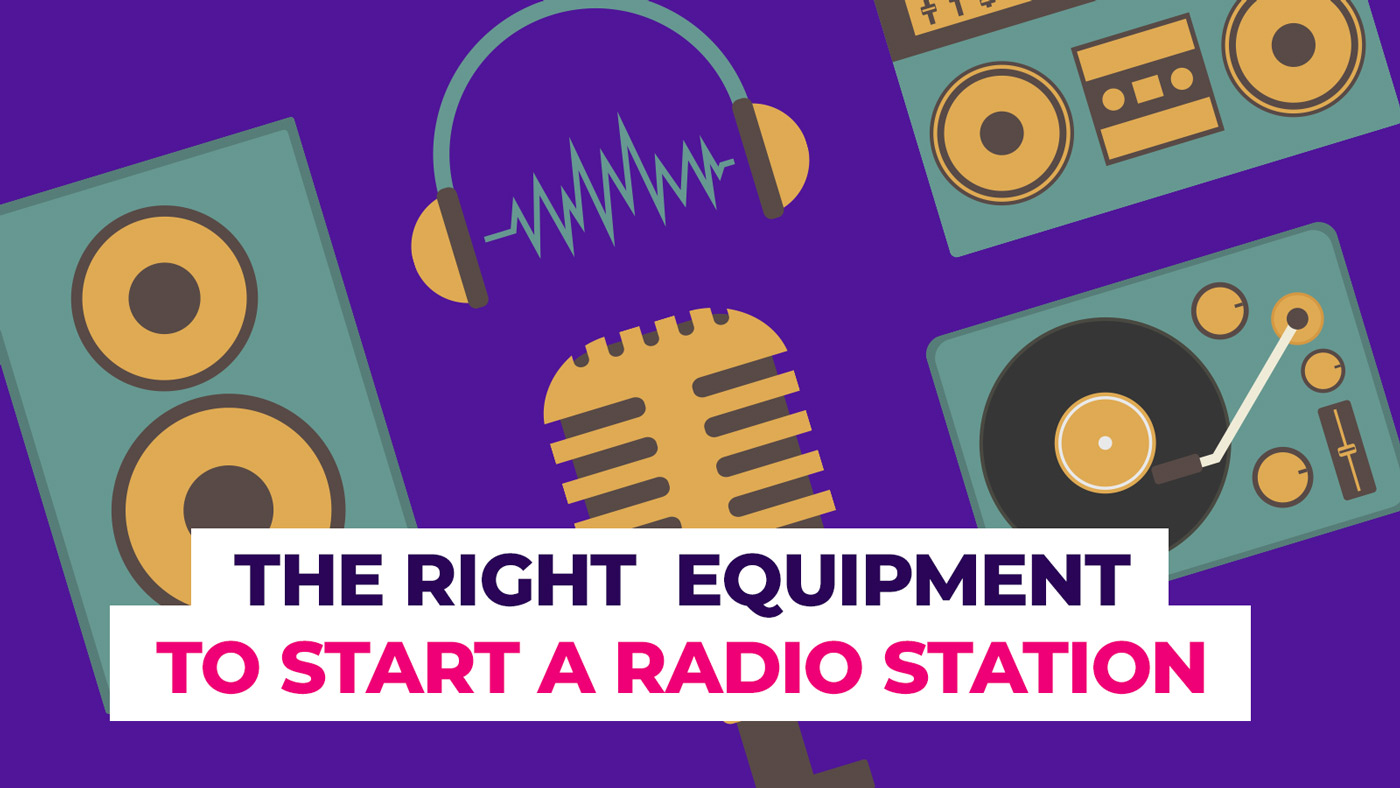
How to start a radio station: Equipment you need to start bradcasting
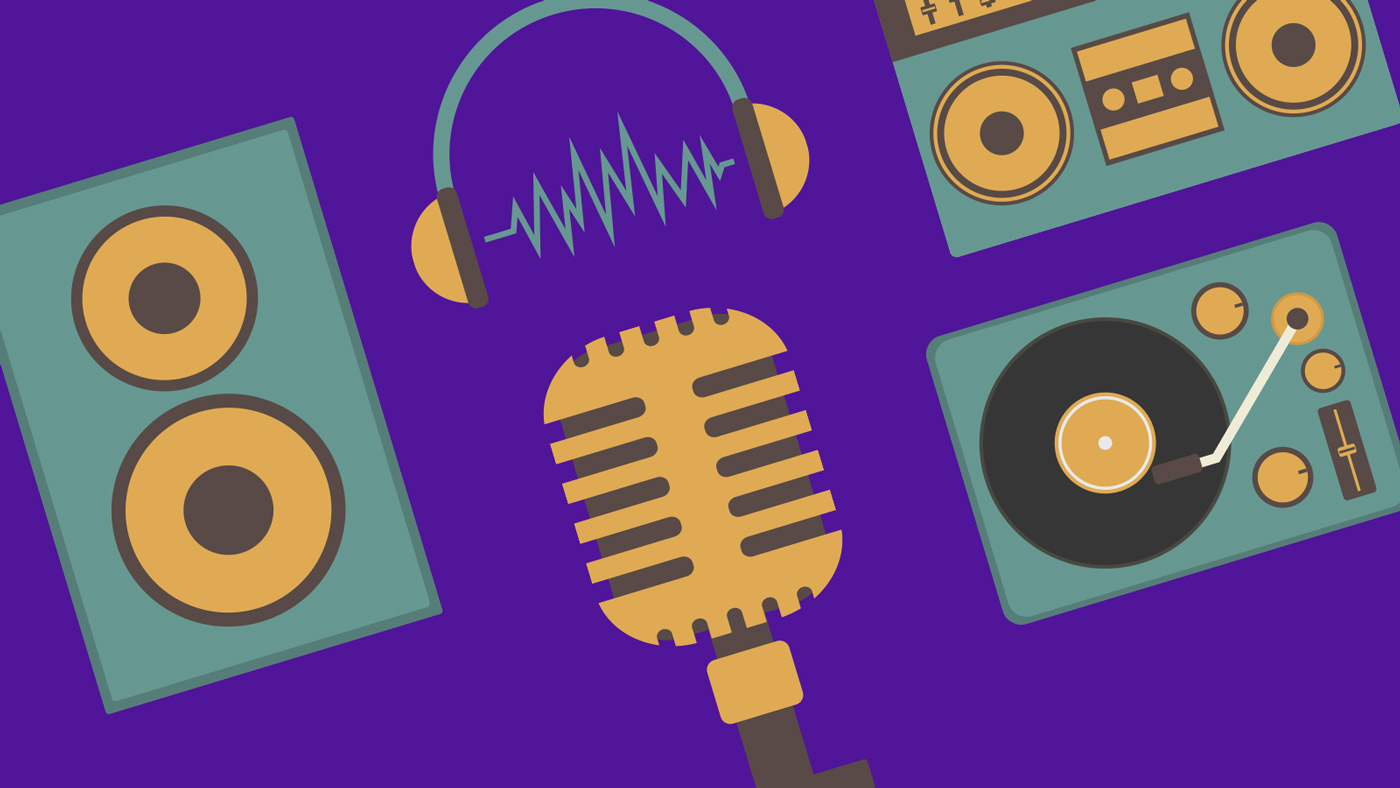
To start your own radio station you will need some equipment. This list covers the basic options to build up a small broadcasting studio without investing a fortune.
Update: at this link you can find our full guide on how to start a radio station.
 We will present the basic setup required for an automated broadcast, along with some live shows. This means you’ll need to create a weekly schedule of shows, with the right amount of podcasts, music, and recordings gathered ahead of time. Then, you need to prepare them to go on air.
To start, you need a computer and some software. Then, once you’re ready, you can interrupt the automated broadcasting to take over with a live show, right from your home studio. This will require a few small pieces of extra gear that we will present later in this post.
Hardware
1. Computer
Basic option: You will need a computer to manage audio files, grab recordings, and upload files. A basic machine from the last few years should do fine, as you don’t need any particular CPU or RAM specifications beyond the ones given by the software you use.
Cost: about 300$
Advanced option: If you don’t mind investing a bit more, going for a Mac can have some advantages. Stability first of all. If you plan to do live broadcasting from your PC, you will need to attach a good bit of equipment and stream directly from it, so you don’t want issues or crashes in the middle of that famous DJ or soccer champion interview.
If you can afford a mac, avoid iMacs because they are not scalable. A Mac PRO is a pretty expensive alternative. A MacBook Pro may be perfect, and also has the advantage of being able to move it to grab recordings and broadcast from other locations.
Cost: about 1,500$
2. Hard drives
You will start gathering recordings, music, and podcasts very quickly, and in no time your main hard drive will be full. It is highly recommended to buy an external hard drive in order to keep the memory of your machine as free as possible. Manipulating large audio files goes faster the more hard drive space you have free, up to 50%.
A good external 2TB HD from Western Digital will be good for quite some months and cost you about 50 $.
It is also suggested to keep a mirror of your drive because if you lose your recordings from a faulty drive or a power failure, your entire radio could be destroyed.
Cost: About 50$
3. Microphone
If you plan to grab some voice clips, podcasts, shows, interviews, and the like, a decent microphone is required. The difference between a recording obtained with a good mic and with a cheap one is really huge. It doesn’t take an expert ear to notice.
The differences between cheap and good microphones are many. For example:
- Clarity of recording: pro radio microphones are directional and can grab the voice of a single person without the surrounding noise.
- Frequency response: cheap microphones don’t have as large of a frequency range. This means that a cheap mic can often sound like an old telephone. For a normal skype call that might be fine, but to grab a real quality recording you need to catch the full sound spectrum.
A professional broadcasting microphone can cost about 3000$, but you can obtain a solid recording quality with some good entry level models. The ones we suggest are:
- Audio Technica AT4033ASM (about 400$)
- Rode Procaster Broadcast Dynamic Vocal Microphone (About 200$)
- Audio Technica ATR2100-USB USB/XLR (89$ inc. Knox Pop Filter and Microphone)
Cost: about 100$
4. Microphone stand and Knox Pop filter
Also called “Boom Scissor arm”. This is needed to keep your microphone on the desk and make it easy to speak and interview your guests.
Cost: between 30$ and 100$
Knox Pop filter
This is the round flat filter that you place in front of the microphone. The pop filter guard is used to obtain a clear recording eliminating the “pops” that sometimes show up when recording P and B pronunciations.
Cost: about 30$
5. Speakers
It is important to hear what you are really broadcasting, so clarity of sound and a good frequency response are fundamental in order to better equalize and compress your audio.
For an entry level, a couple of Yamaha HS5I or H7 are a good choice. If you plan to spend a bit more, a couple of Pioneer S-DJ80X would be an ideal choice.
The best brands for studio recording are Yamaha, Jbl, Pioneer, Focal, KRK, and Dynaudio.
With an investment of 250$, you can definitely get a good pair of speakers that will help you achieve a semi-professional recording quality. Brands to avoid: M-Audio (poor frequency response).
Cost: about 200$
6. Headphones
You need good headphones to hear the entire spectrum of sound precisely, clean audio files, and do proper equalization, but this doesn’t mean you have to spend 1400$.
With a budget between 50 and 200$, you can get a good selection of semi professional headphones.
The recommended brands for studio headphones are:
- Shure (SRH440, about 100$)
- Sennheiser (HD280PRO, about 100$)
- AKG (Pro Audio K702, about 220$, or the cheaper AKG K240S, about 50$)
- Audio Technica (ATH-M50x, about 155$)
Cost: about 100$
7. Soundcard
This is only needed if you want to do live broadcasting or live recordings. It connects analog sound input to your computer. If you only need to plug in a microphone, you can simply use the standard jack input port and a dedicated soundcard is not required.
It is highly recommended to go for an external USB or Thunderbolt sound card because you may eventually want to sell and upgrade it separately from your computer. To do so with a PCI sound card is more difficult, particularly if you aren’t familiar with building PCs.
The key data when choosing a sound card are:
- Interface connectors
You can have Firewire, USB, Thunderbolt or PCI soundcards.
PCI is not recommended, and Firewire is good but has been mostly replaced by newer connections. Thunderbolt is pretty limited about the brands you can use it with, while USB may work out just fine and won’t give you problems when you change your PC. - Input-Output ports
This is a very important factor, and you have to consider how many channels you will need, as well as how much gear you may want to connect. Things such as microphones, mixers, instruments, or other similar sources.
You can have Microphone input (XLR), Line input (Jack) or optical input. Nowadays more and more pro gear uses line input and output, so it’s not a bad idea to go for something with this option. - Digital Audio Workstation(DAW) compatibility
Any pro software will work with basically all of the sound cards out there, but if you’re already working with your favorite DAW and don’t want to change, it’s best to check its compatibility before you buy a soundcard. - Size and shape
There are very compact sound cards and also rack ones. If you plan to move and record from other locations, a portable one is really practical, but it may cost you more, while if your studio will be stable in one room, a larger model may let you achieve better quality for a cheaper price.
6. Mixer
A single input from your computer is more than enough if you just want to plug in a mic, but if you plan to mix some music live from a mixing console, plug in your guitar for a solo riff, or plug two or three extra mics for a sport or band interview, a small studio mixer may become very handy.
The best studio mixer we can suggest for an entry-level price is the Allen & Heath ZED-10. It has quite a lot of input-output, professional grade quality, and USB interface.
Cost: about 220$
Software
1) Software to properly prepare your audio contents
To choose the right software it is important to decide how you’re going to work. If you plan to broadcast full podcasts and just cut-paste some voices and ads, Audacity could work as a free option. For properly mixing music, or voice-overs for interviews, and adjusting, equalizing and compressing the audio, a more expensive professional option is recommended. For example Sound Forge, Ableton Live, or similar programs.
- iTunes to correctly encode MP3 files (Free)
- Audacity to copy/cut/crop/edit your podcasts (Free)
- Sound Forge Pro (299$)
- Ableton Live (840$)
2) Software to create an automated broadcast schedule
You only need this software if you plan to live-broadcast 24/7 instead of using an online automation provider such as radio.co. Remember that broadcasting live requires a computer to always be on, and you to have a very stable upload internet connection.
- Nicecast (Free lite version or 59$)
- RadioDJ (Free)
If you use an online scheduler to create an automated broadcast instead, you only need your browser. You can manage the schedule by uploading files and programming the shows on your radio provider’s online application (best choice for rookies).
3) Software to broadcast the audio stream
Broadcasting software is needed if you want to live broadcast all your shows. But even with an automated schedule, you’ll need it if you want to kick-in with some live interventions from time to time.
- BUTT (Broadcast Using This Tool)
Allows you to broadcast any audio source. Nothing more, nothing less.
Link: https://danielnoethen.de/
Cost: Free - Nicecast
With Nicecast, you can easily create your own internet radio station, playing any audio you desire to listeners from around the world.
Cost: Free test / 59$ Licensed
Link: https://rogueamoeba.com/nicecast/buy.php
Conclusion
To start an online radio broadcast you can easily arrange a simple setup from normal home gear: a basic computer, a Skype microphone, a normal stereo with AUX input, and basic headphones.
But the quality of the final result will be highly affected by the quality of your gear, tools, and software. So if you care about your listeners and want to create a pleasant experience with proper audio compression, equalization, and clearness, you can build up a semi-professional broadcasting studio for around 500$ or less.
Remember that the success of a radio station is highly based on the satisfaction of the listeners, and very few people will stick to your channel if it’s poorly equalized, badly scheduled, and recorded in low quality.
It’s important to understand what direction your radio is going and plan some basic investments so you can go on air with a respectable professional touch. This will help your listener base grow more rapidly and make your investors happy.
But don’t feel limited by budget; you don’t need to buy everything at once. Consider buying a piece at a time, starting with some good monitors and mic, to slowly grow your broadcast to a higher quality.
In the next post, we will go “live on air” and explain how to actually broadcast a live radio channel, with a step-by-step guide to bring you online in 10 minutes.
You may also like

Copyright 2019-2025 ProRadio© Qantum Themes SL©